3D Room

So today in class we had to build up a room ourselves. So i gave it a try to see what i can do.

Screenshot (72)

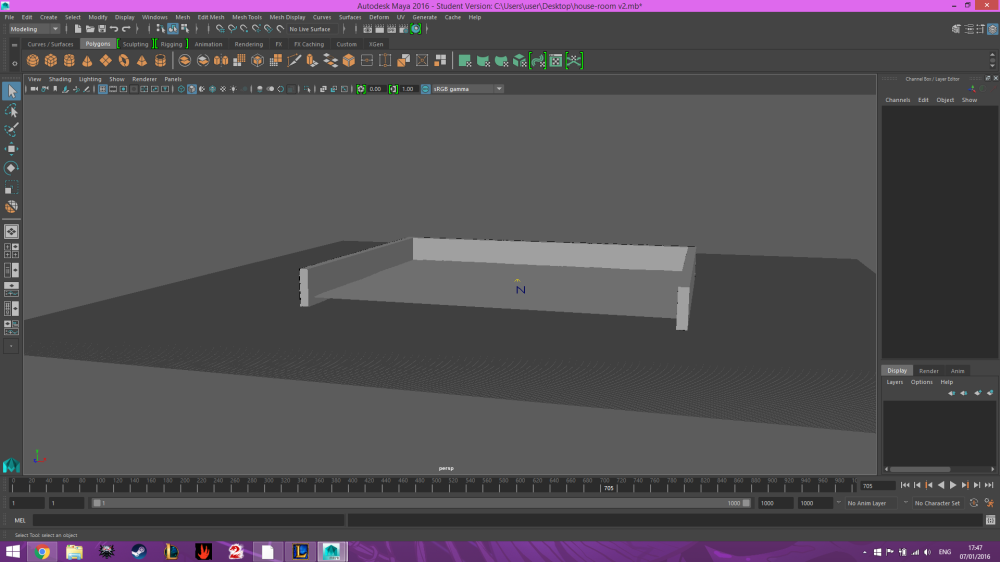
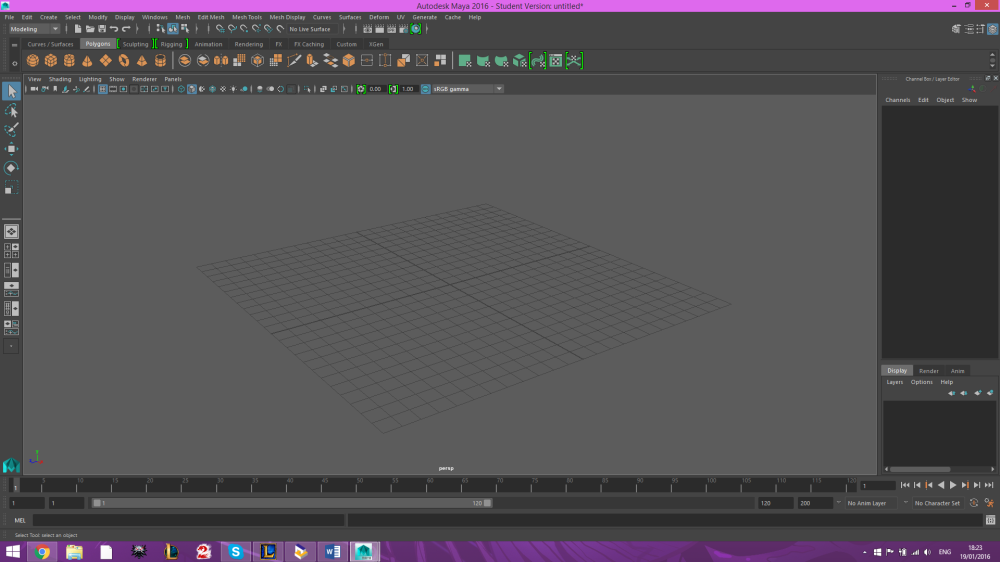
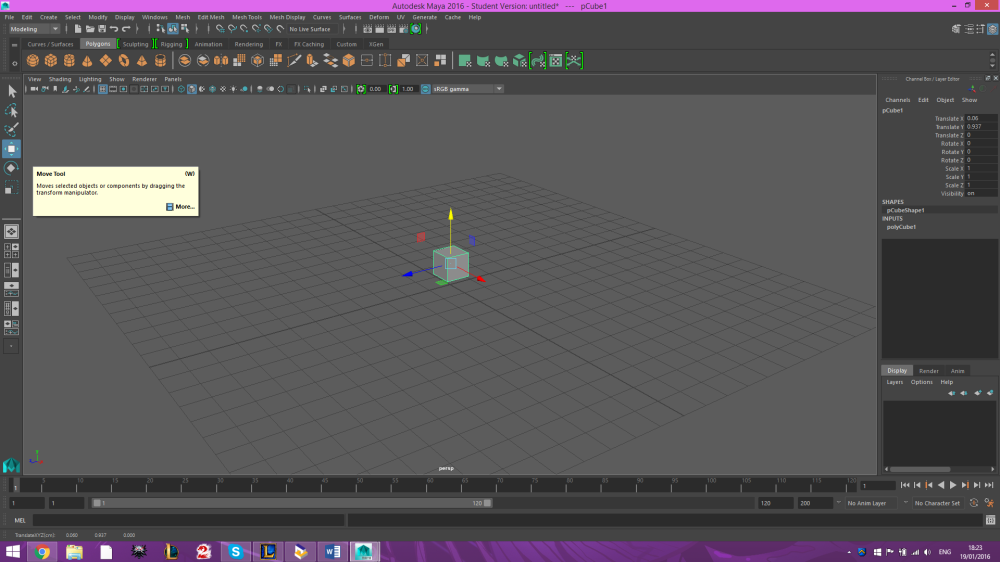
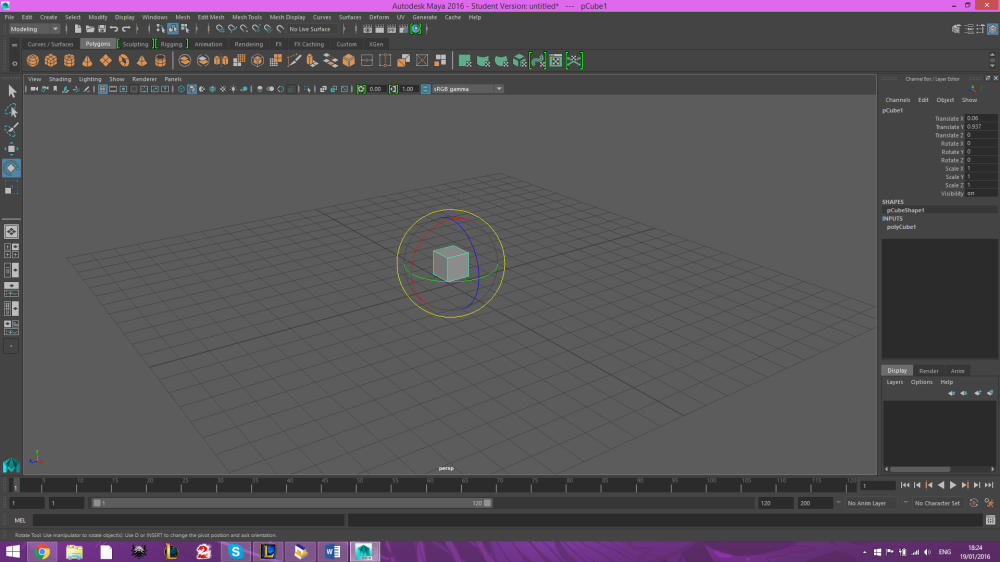
So is started up with a simple base for the room to be on. I made a cube, enlarged it and then i put edge loops on it and used the extract tool to fix up and make the walls.

Screenshot (73)

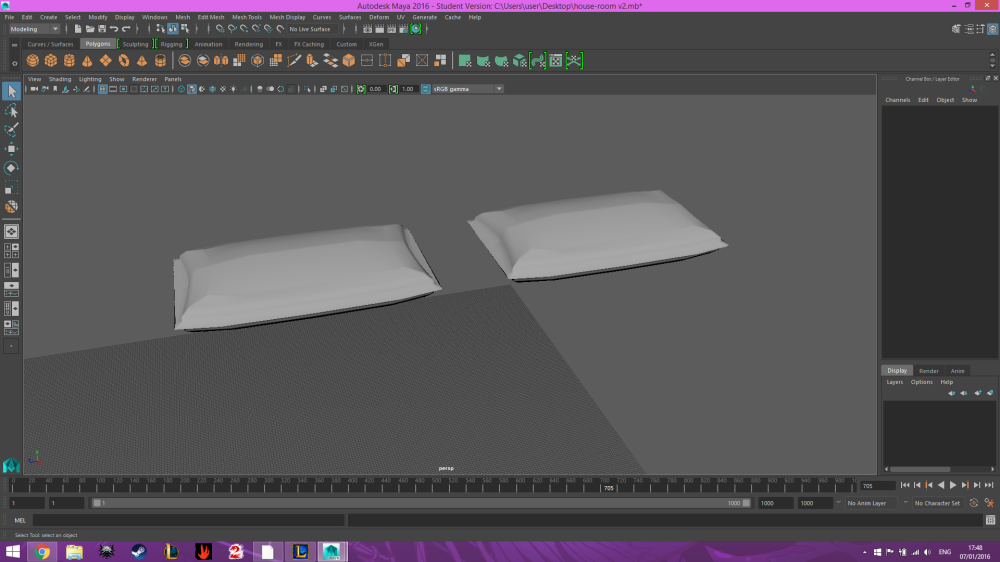
I started by making the pillows for the bed. Again choosing a cube as my base and then adding and deleting edge loops to smoothen it up and try to make up a design that looks somewhat like a pillow.I duplicated it and done!

Screenshot (74)

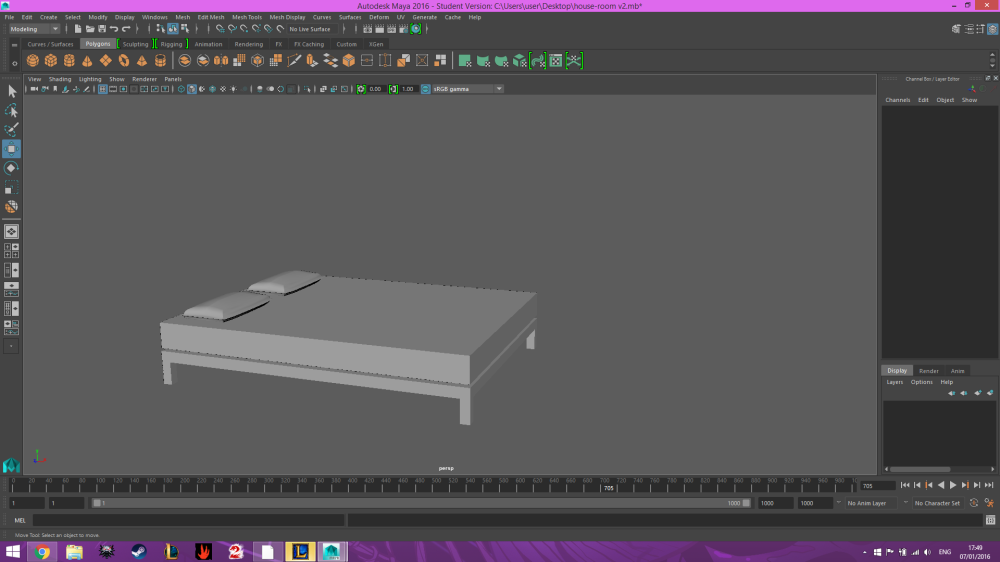
To finish up the bed i used two cubes (once again) one for the base and one for the mattress. The mattress is just an enlarged cube and for the base of the bed i put edge loops and used the extract tool to pull off the legs.

Next were the two nightstands. I started making one with a cube, enlarged it and used a lot of edge loops and the extract tool to curve shapes on it. Also in one of the nightstand models i made the drawer open up a bit more so they would have a small difference and wouldnt look like a mirror.

Next of course would be the cupboard. Starting with a cube. Changing a bit the shape and adding edge loops to see where ill make the shelves and the drawer on the bottom. Selected the faces and then i used the extraction tool and made the shelves and the drawer with the same method i made the nightstand.

Last but not least were the table and the chair. I imported the model of the table from a previous project that we did at uni so i just had to make a simple chair. I used the usual, a cube, extract tool and edge loops and placed the chair next to the table.

Screen Shot 2016-01-20 at 10.47.26

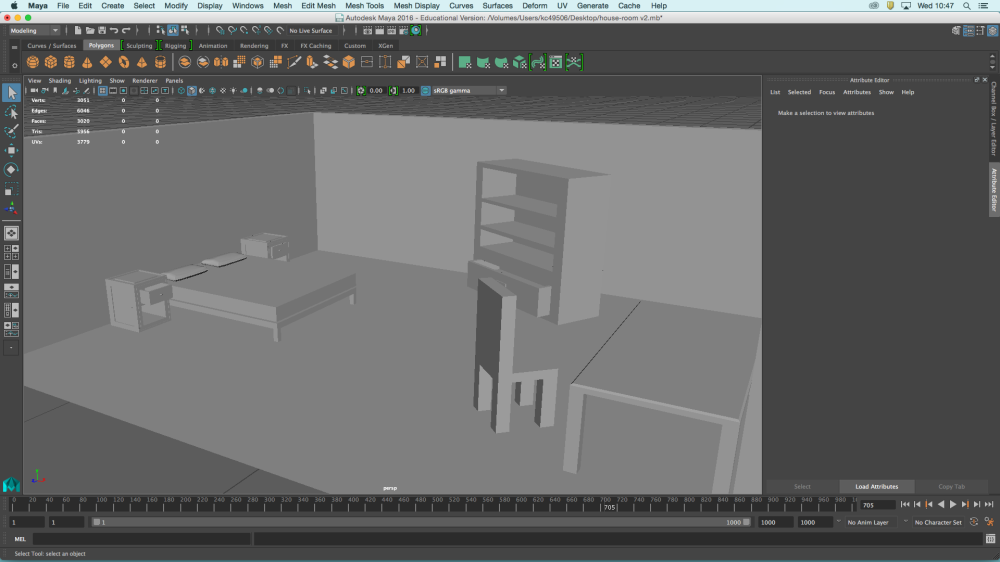
And this is how my room looks! Still needs some fixing but this is it for now!


Also a small bonus:

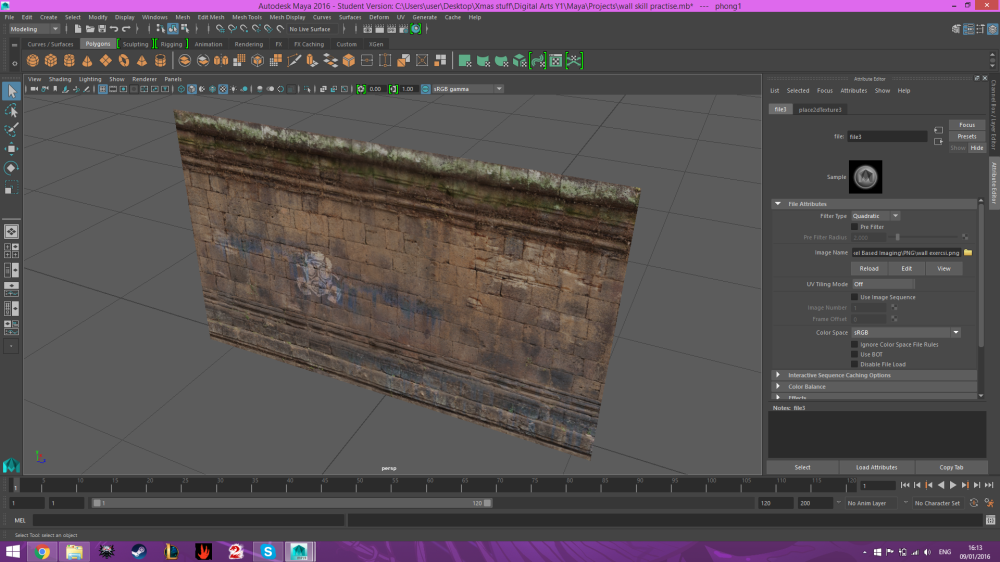
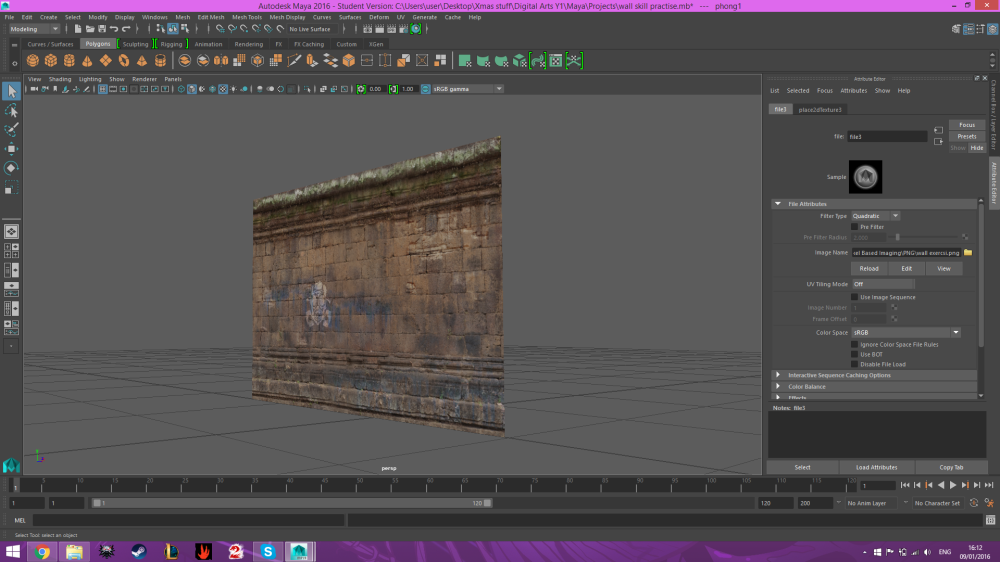
From the project i did that i took the table from here is again the same table with some texture on it. Just to see how it will look when i put texture in the whole room!


-Eri

3D Modeling Info

So here are some simple tricks i learned with 3D modeling and the program called Maya!

Screenshot (120)

So this is how maya looks like. Not that simple but if you take some time to look at the tools you can easily make a simple 3D model.

So first things first how to move the camera and in general how to zoom in/our and rotate

Windows:

ALT + Middle mouse button = move camera

ALT + Left Click = Rotate camera

ALT + Right Click = Zoom In/Out


Screenshot (126)

With the tool seen on the screenshot you can change the way you view your model into all side views!


Screenshot (121)

Next is how to create a model, move it and rotate it. On the orange icons row you can see different shapes. If you press on one then it will create a shape and place it on your grid. If you press the moving tool that is selected in the above screenshot then you will be able to move the object any direction you want using the yellow, red and blue arrows.Screenshot (122)

Next by choosing the rotation tool that is selected on the above screenshot you can rotate the object whichever way you want using the yellow, blue, red and green circles.

So thats pretty much the basics on how to move, rotate and navigate around the program!


-Eri

My Web

So after working a lot of time of actually making a good layout, i bought a domain name and a host to make and put my own website live on the internet! There was a lot of coding and a lot of researching on how to make the codes and other elements work properly but it was a fun process. There are a lot of things needed to make a website. A coding for every different page in your site and even a separate sheet of coding that would include all the colors and styles of the other pages and in general the layout elements.


These are all the codes from all the 4 different pages of my site and then the bottom on is a small preview of how the css style coding looks like. The page that holds all the formats and layouts of every other page. You can also put comments all over the coding and it wont affect your page. They are just for personal use for you to remember which code does what so youll know what needs to be fixed or changed.


And this is my main page. I have a small drawing i did digitally on top of the page and the player on the bottom left plays a different song in each page that you visit. I wanted to put variety in my site because if i used one song it would be too plain i think. The art section will soon be filled once i figure out the right coding for how i could possible place the drawings so they wont affect the page too much.


If you want to visit the site heres the link:

http://www.erinotfound.co.uk


-Eri

The Start of Web Design

So this year i got a new subject that i havent tried before in my life, web design! At first i thought it would have been difficult to do web designing but its actually really really fun. Still a bit difficult and needs lots of hard work but its really fun.

Screenshot (99)

This is the first coding i did in the few first weeks of this module. Some simple things like how to make a classic page layout and how to do paragraphs and such. I also learned how to input images and even videos on the page. Other elements i learned afterwards and then i found out how to put a small music player for music to play on the background when someone opens your page.

Screenshot (102)Screenshot (103)

This is how my first page looked. A bit random but it was just a practise to see how things worked. The borden in the sides, the costum buttons and the scrolling background that made the buttons and title of the page stay in place. Also yes that is a random cat video and random trippy image because why not đŸ˜€

And of course i took this random layout as my base and built my page over it.


-Eri

.

Button Graphic Design

banner project 1

For Pixel Based Imaging we had to create a design for a download button like those that they use in websites. We started off with a simple rectangle and added a line in the middle. We used two different shades of the same color and filled it in. Then we used the gradient tool with a white color on one side and transparent on the other to make that ”light” effect on the top of the button. Then we used a darker color for the lineart of the button. What followed was to make the text saying ”Download eBook” and shaded them under to make them pop out a bit. After adding the small icon image of a PDF  file our icon was done!


-Eri

3D Bouncing Ball Animation

Screenshot (95)

This was our first 3D modeling animation project. It was to make a simple animation of a bouncing ball. We had to take all elements of how the ball moves, in which direction, how its form its distorted as it falls or as it hits the ground ect.  We followed a video tutorial on how to do it and it was kinda fun.Screenshot (96)

Here is another screenshot of the balls movement and change of shape as it falls from a certain height towards the wall that we made to bounce off of. Screenshot (97)

And here is a screenshot of how the ball is distorted when it hits the ground for the first time from a big height. Every single bounce and movement was made into different saved frames with the animation tool. All the red lines underneath the model are all the saved frames that were put together to make the ball. We also used the graph mode to make the ball look smoother and how it moves too.

Also here is the final small animation.


-Eri


Comp 1 from Erica Nahmia on Vimeo.

3D Wall Skill

Screenshot (94)

Following the Pixel Based Imaging exercise we did with creating a wall we used that texture to make a 3D Model of how a wall looks in a video game and also to learn how to use textures in Maya, the 3D Modeling program we use. So by starting with a Polygon plain we moved it to look upright and then went to the texture menu and by choosing the ”Phong” texture template we added our image onto the texture and then onto the plane. Screenshot (93)

And thats how it pretty much looks from a different angle too.


-Eri

3D Spaceship Model

Screenshot (85)

This was our first personal assignment for 3D modeling, to make our own 3D Spaceship model, either by making a design that already exists or make our own personal design. I went with the second choice. I did some sketches in my head of how i wanted it to look and then i slowly started constructing it. On top is the finished model (i darkened the actual model just to make the details show off more. The original is grey based like the rest of the pictures)

Screenshot (86)

I started off the design by doing the outer shell of the spaceship. I did one side of the base and then added the small details with different shaded cubes and different edges. Then to make my life easier i mirrored the design to make the other side of the our shell and thats how i pretty much started.

Screenshot (91)

Then i started crafting the inner base of the spaceship. I started with a cylinder and changed the sizes at the end of the circles and then added some edges around the cylinder and used the extraction tool to add some detail in the front and back of the inner base.

Screenshot (90)

Then i decided to make a front piece for the spaceship. Thats why i took a cylinder and a sphere to reconstruct it and add some details with edges and the extraction tool. I didnt know exactly what i wanted for the front of the ship so i experimented with different shapes.

Screenshot (89)

I put them several times one on top of the other so i could get the right size for the circle and to make them look smooth on top of the other and not too noticeable that they are two different pieces but only one.

Screenshot (88)

Then i started working on the back part of the inner base. To add more details and of course engines so the whole spaceship concept can work. I used a cube to start off the base and then i started adding again edges and using the extraction tool. After finishing one i made two more copies and i made one of them bigger so the design of the engines wouldnt be too monotone.

Screenshot (87)

At the end i added them all together to see if they work well. I did make some size changes in the small pieces just to make sure they fit perfectly. And thats how i made the inner piece of the spaceship.

Screenshot (92)

This is the finished spaceship model with its original color and how it looks!


-Eri

3D Pendulum Animation

Screenshot (82)

This time we had to make a moving pendulum animation with a 3D model we made ourselves. We were learning on how to use skeletons and joins on our 3D models to make them moving. So we started by making 3 cylinders one on top of the other, with a square plate piece on the top and a sphere on the bottom. Our base was ready! What we had to do now is put the joints on all the pieces to enable them to move like the joints in our limps.

Screenshot (83)

The orange, yellow and green lines are the joints and all three make our skeleton for the pendulum. By using the animation tool of putting joints and making something that doesnt move into a limp like piece we were able to bent it whichever way and however we wanted.

Screenshot (84)

All three cylinder pieces moved on their own way so we were able to make a smooth animation on how a pendulum would move.After fixing its frame with one move we saved all the frames and put them into one animation and voila! A moving pendulum!


-Eri


SkelePend from Erica Nahmia on Vimeo.